
Patriotic Red, White, and Blue Chocolate Bark
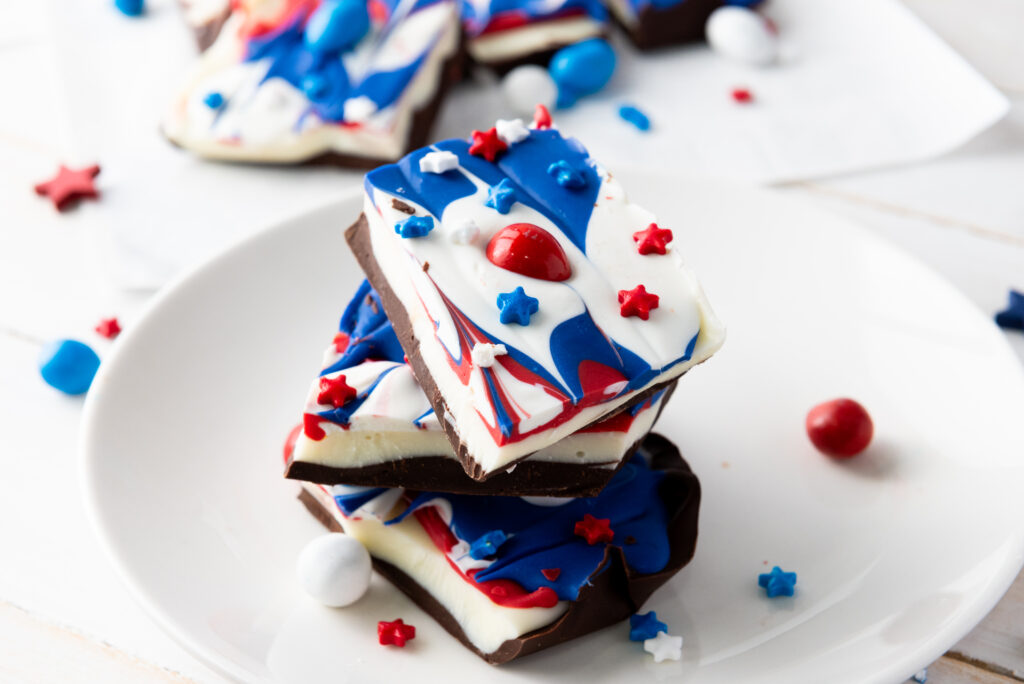
I don’t know about you, but I absolutely love creating festive treats that bring a little fun and color to any occasion. This Red, White, and Blue Chocolate Bark is one of my favorites to make around holidays like the 4th of July or Memorial Day. It’s so easy, and I love how it looks once it’s all done! You can get creative with the toppings, and it’s the perfect treat to serve at family gatherings or even share with friends. Plus, the kids love helping out in the kitchen with this one – there’s just something about swirling all those bright colors together that they find so exciting.
What I love most about this recipe is how customizable it is. You can switch up the candy melts or even add in different kinds of sprinkles, depending on what you’re in the mood for. If you’ve got a sweet tooth like me, you’ll appreciate how rich the combination of semi-sweet and white chocolate is, and the candy melts just make it pop. It’s a quick and simple recipe, but when you present it, it feels like a special treat for any celebration.
I’m always looking for ways to make treats that don’t take too long to make, and this one definitely fits the bill. It comes together in about 15 minutes, though you’ll need to let it chill for a bit. It’s one of those recipes that’s perfect when you’re short on time but still want something that looks impressive. The bright colors and sweet flavors are sure to please everyone, and it’s a total crowd-pleaser!
Ingredients
-
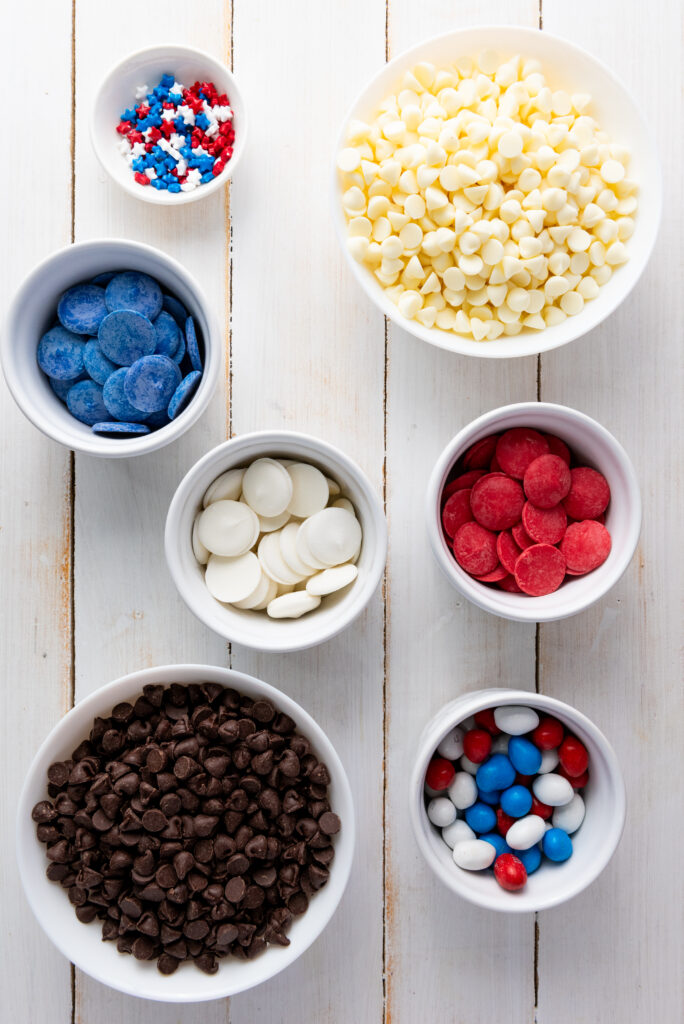
2 cups white chocolate morsels: The creamy sweetness of white chocolate morsels creates a rich base for this bark.
-
2 cups semi-sweet chocolate morsels: Semi-sweet chocolate morsels add the perfect balance of rich, chocolatey flavor to this treat.
-
1/2 cup red candy melts: Red candy melts bring a vibrant pop of color and a sweet, smooth finish to your chocolate bark.
-
1/2 cup white candy melts: White candy melts help to create a marbled effect, adding both color and flavor to the layers.
-
1/2 cup blue candy melts: Blue candy melts are the finishing touch for that patriotic look and a little extra sweetness.
-
1 tbsp red, white, and blue star sprinkles: The star sprinkles not only add a festive touch but also a little crunch to each bite.
-
1/4 cup red, white, and blue M&Ms: M&Ms bring a fun, crunchy texture and extra color to your chocolate bark, making it irresistible.
Recipe Instructions
You can find a printable recipe card at the bottom of this post.
1. Line a baking tray with parchment paper to prevent sticking.
2. Melt the semi-sweet chocolate morsels in the microwave in 30-second bursts, stirring between each, until smooth.
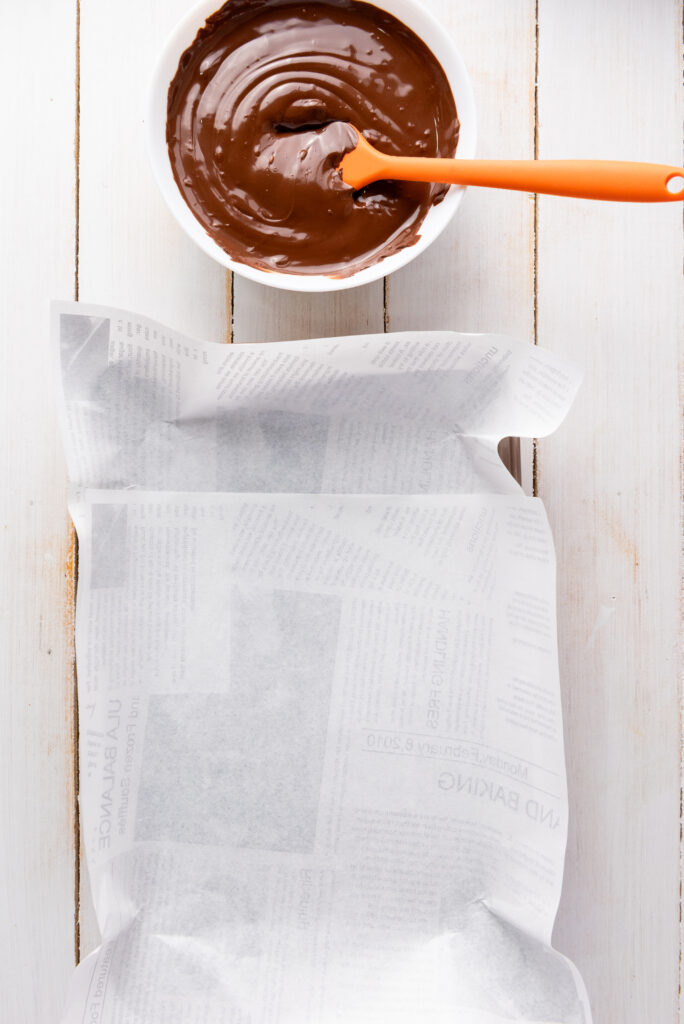
3. Pour the melted semi-sweet chocolate onto the prepared tray, spreading it into an even layer.
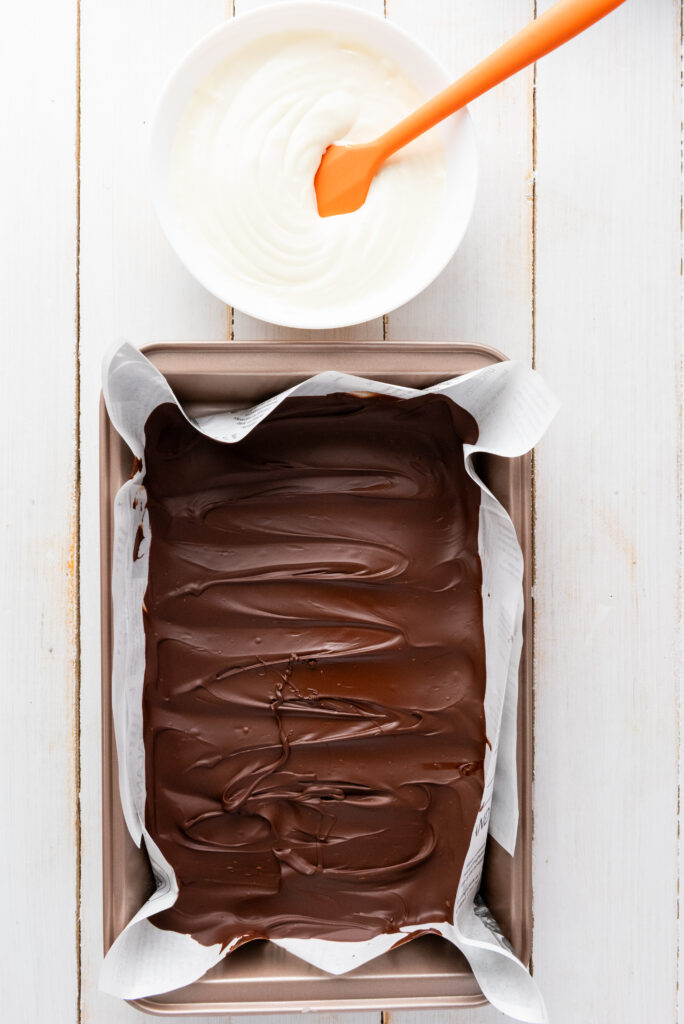
4. Allow the chocolate layer to harden completely. Speed up the process by placing the tray in the refrigerator.
5. Melt the white chocolate morsels using the same method as the semi-sweet chocolate. Once melted, pour it over the hardened semi-sweet chocolate layer.
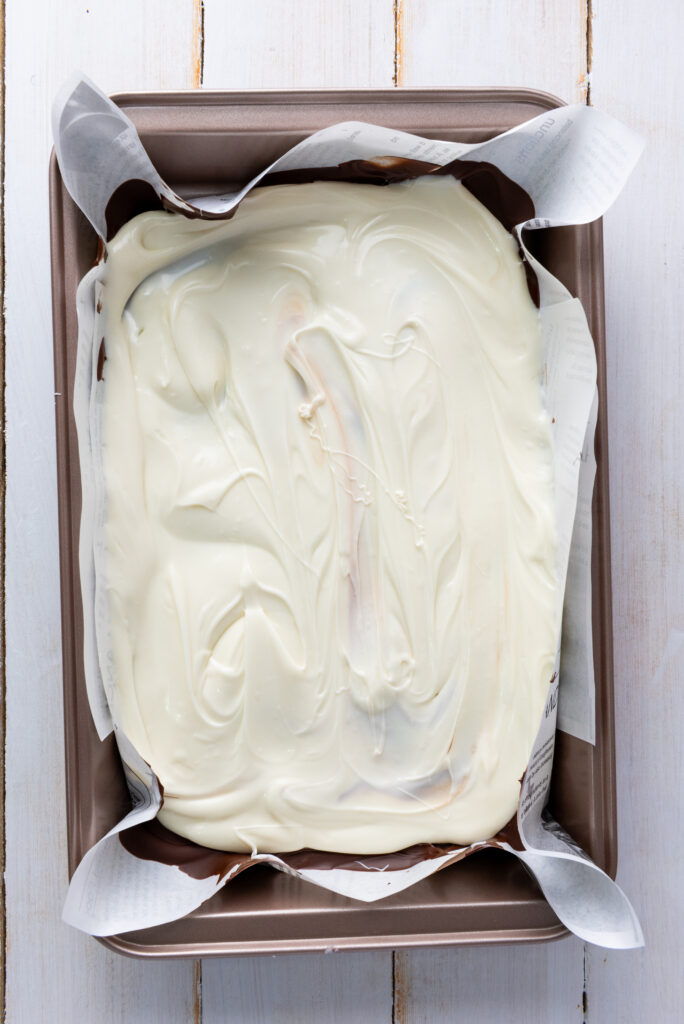
6. Let the white chocolate layer harden completely before proceeding.
7. Melt the red, white, and blue candy melts separately. Use small piping bags or a spoon to drizzle each color over the hardened white chocolate layer.
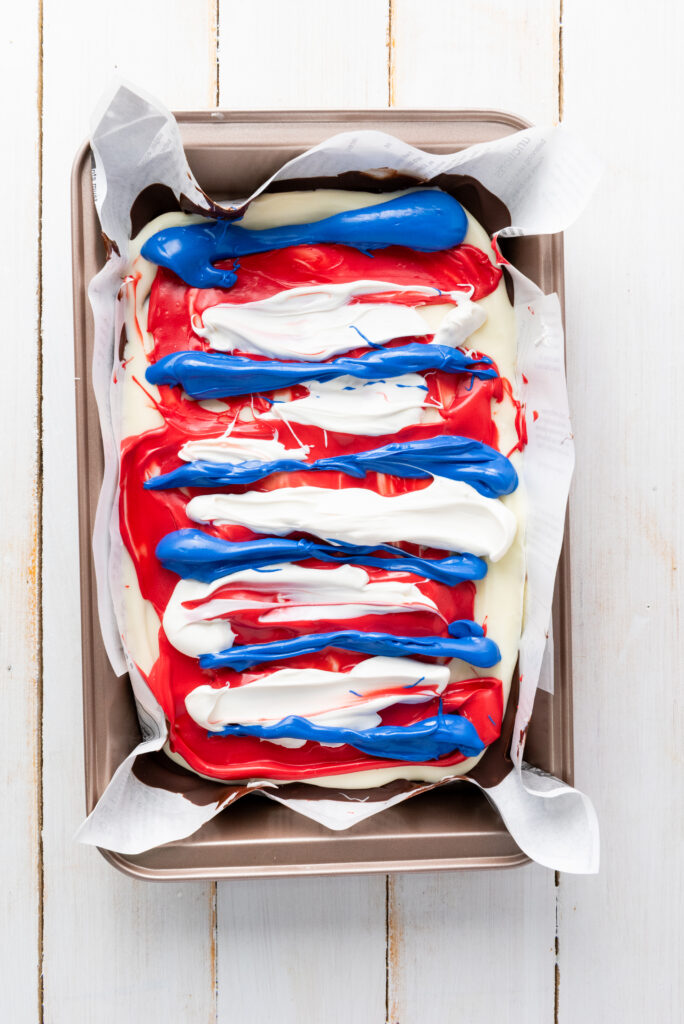
8. Use a toothpick to swirl the colors gently, creating a marbled effect. Do this before the candy melts harden to ensure a smooth pattern.

9. Sprinkle red, white, and blue star sprinkles and M&Ms over the top while the candy melts are still slightly soft to ensure they stick.
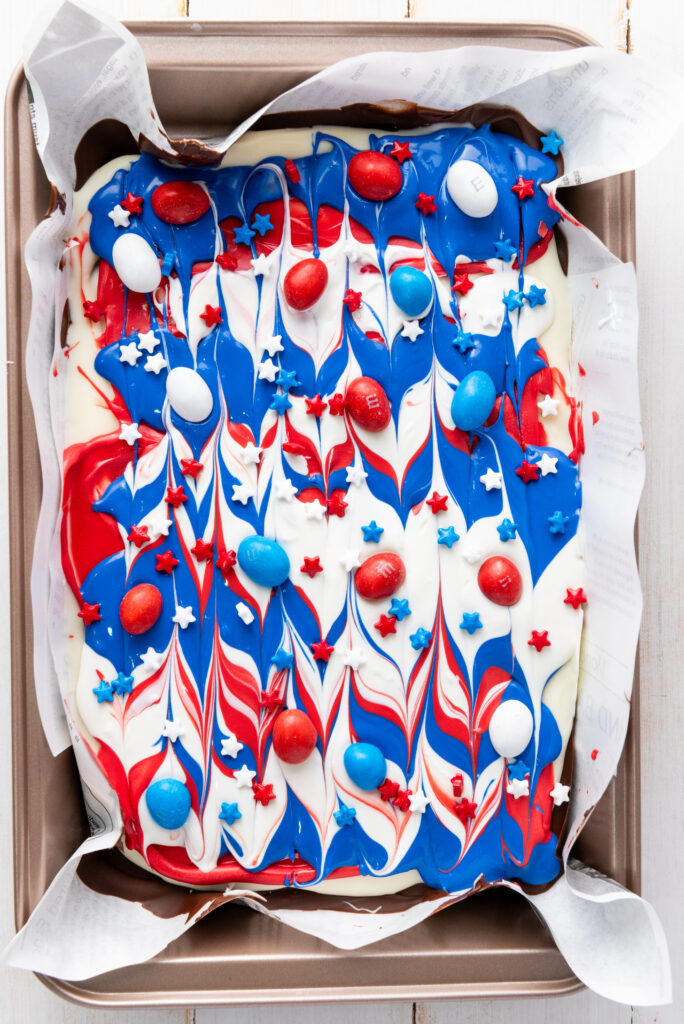
10. Allow the entire tray to harden completely, either at room temperature or in the refrigerator if you’re in a hurry.
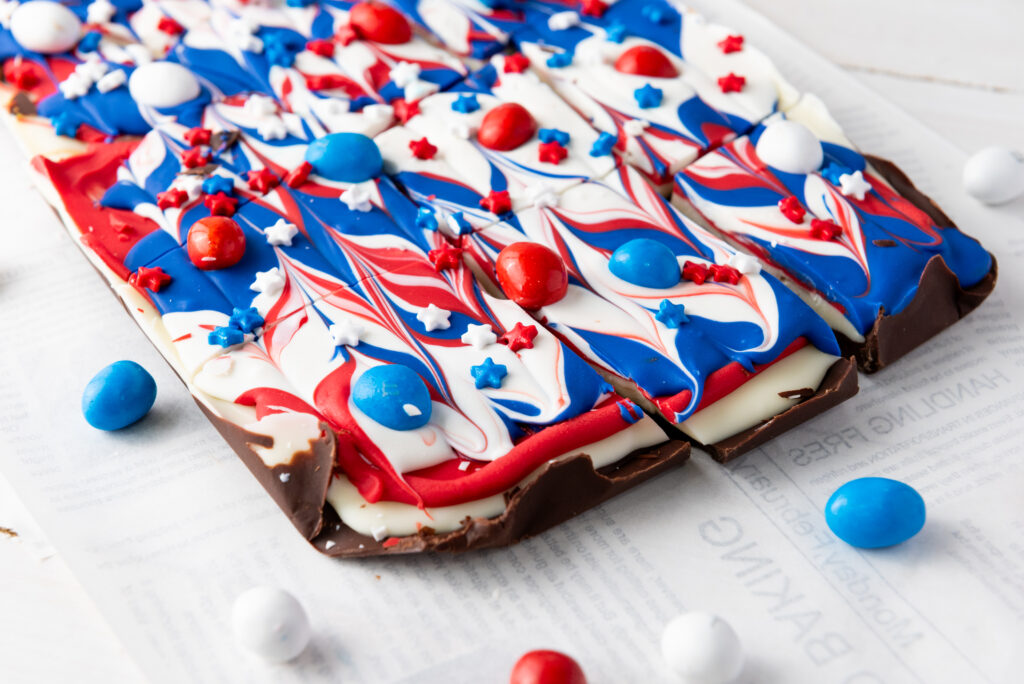
11. Once fully set, lift the bark out of the tray using the edges of the parchment paper and break it into pieces by hand.

12. Your colorful chocolate bark is ready to be served! Store any leftovers in an airtight container at room temperature or in the fridge.
Tips & Tricks for the Perfect Red, White & Blue Chocolate Bark
-
Use High-Quality Chocolate: The key to a smooth, creamy bark is using good-quality chocolate morsels. I recommend using premium white and semi-sweet chocolate, as they melt better and taste richer. The better the chocolate, the better the final result!
-
Let Each Layer Set Completely: Be patient and allow each layer to set fully before adding the next. If you try to layer the chocolates too soon, the colors might blend together, and you’ll lose that beautiful, clean look.
-
Melt Chocolate in Small Batches: To ensure your chocolate doesn’t burn, melt it in small batches. Use the microwave in 30-second intervals, stirring in between, or melt it over a double boiler. This method prevents overheating and keeps the texture smooth.
-
Swirl Gently: When drizzling the colored candy melts, use a toothpick or skewer to swirl the colors together, but do it gently! Over-swirl, and you’ll end up with muddy colors rather than that pretty marbled effect.
-
Chill in the Fridge for Faster Setting: If you’re in a rush, pop your tray in the fridge to speed up the setting process. Just make sure the bark is fully hardened before breaking it into pieces to prevent it from becoming too soft.
-
Mix Up the Toppings: The red, white, and blue star sprinkles and M&Ms are just a starting point. Feel free to get creative! You can add other fun toppings like crushed graham crackers, pretzels, or even chopped nuts for extra texture and flavor.
-
Cut the Bark into Pieces: Once your bark has fully set, break it into irregular pieces by hand. This gives the bark a rustic, homemade look, and it’s much easier than trying to cut it with a knife.
-
Storage Tips: Store your chocolate bark in an airtight container at room temperature for up to a week. If it’s really hot where you are, you may want to keep it in the fridge to prevent it from melting.
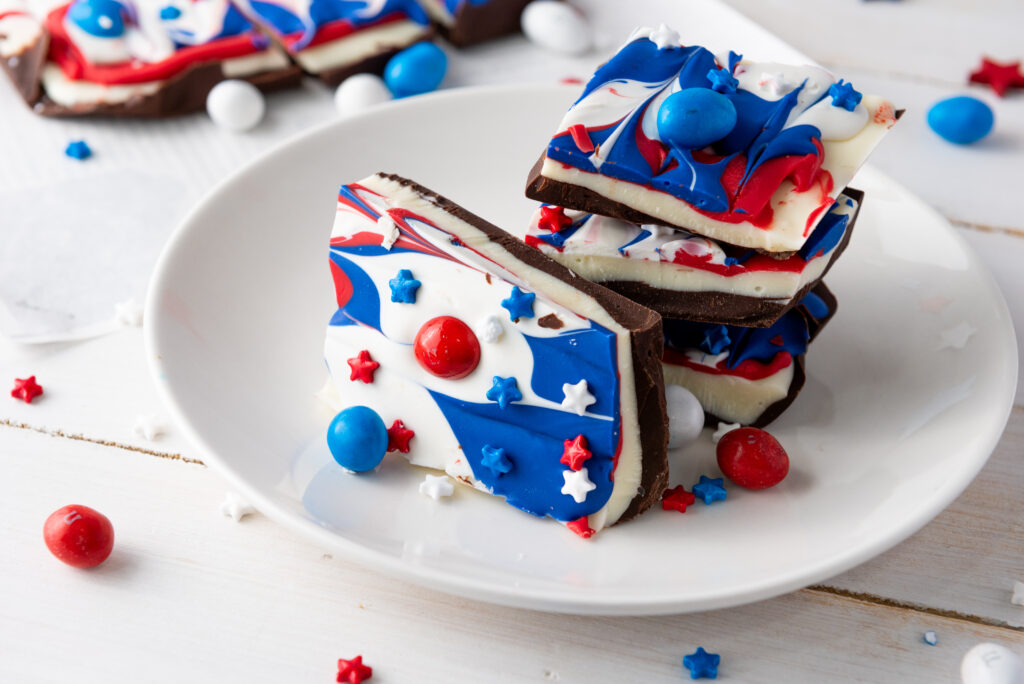
Patriotic Red, White, and Blue Chocolate Bark
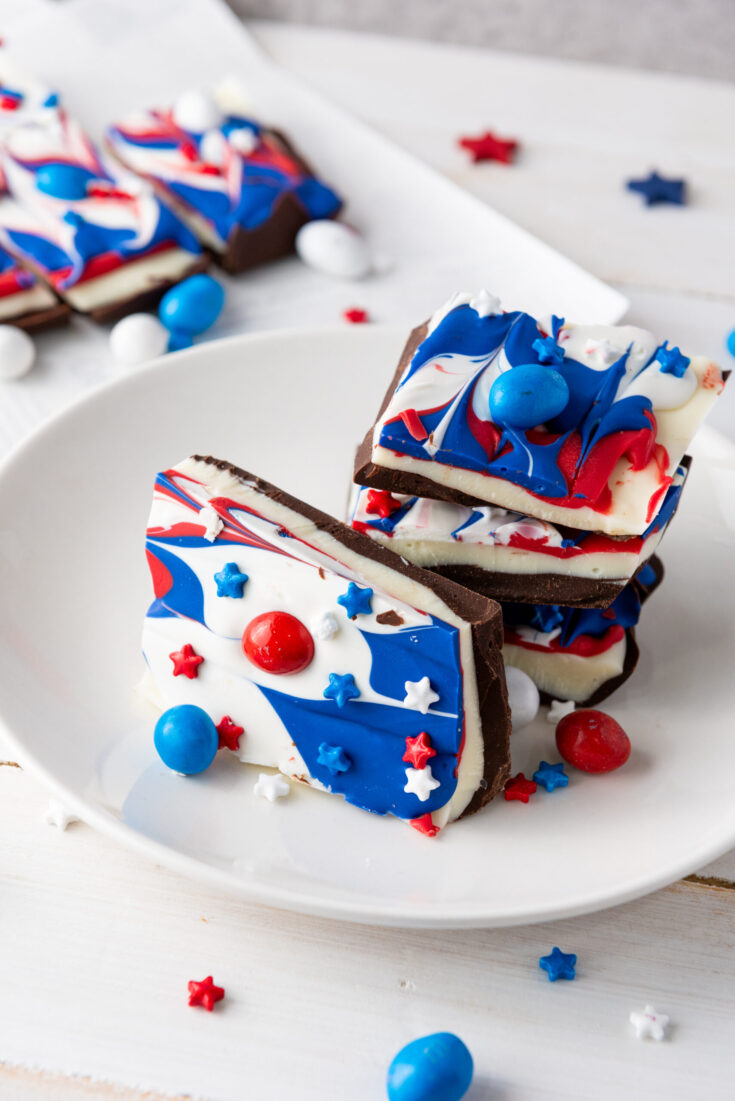
This festive Red, White, and Blue Chocolate Bark is a fun and easy treat perfect for any patriotic celebration. With layers of creamy white and semi-sweet chocolate, vibrant candy melts, and colorful M&M's and sprinkles, it’s sure to impress both kids and adults alike. Quick to make and even quicker to disappear!
Ingredients
- 2 cups white chocolate morsels
- 2 cups semi-sweet chocolate morsels
- 1/2 cup red candy melts
- 1/2 cup white candy melts
- 1/2 cup blue candy melts
- 1 tbsp red, white, and blue star sprinkles
- 1/4 cup red, white, and blue M&Ms
Instructions
- Line a baking tray with parchment paper to prevent sticking.
- Melt the semi-sweet chocolate morsels in the microwave in 30-second bursts, stirring between each, until smooth.
- Pour the melted semi-sweet chocolate onto the prepared tray, spreading it into an even layer.
- Allow the chocolate layer to harden completely. Speed up the process by placing the tray in the refrigerator.
- Melt the white chocolate morsels using the same method as the semi-sweet chocolate. Once melted, pour it over the hardened semi-sweet chocolate layer.
- Let the white chocolate layer harden completely before proceeding.
- Melt the red, white, and blue candy melts separately. Use small piping bags or a spoon to drizzle each color over the hardened white chocolate layer.
- Use a toothpick to swirl the colors gently, creating a marbled effect. Do this before the candy melts harden to ensure a smooth pattern.
- Sprinkle red, white, and blue star sprinkles and M&Ms over the top while the candy melts are still slightly soft to ensure they stick.
- Allow the entire tray to harden completely, either at room temperature or in the refrigerator if you're in a hurry.
- Once fully set, lift the bark out of the tray using the edges of the parchment paper and break it into pieces by hand.
- Your colorful chocolate bark is ready to be served! Store any leftovers in an airtight container at room temperature or in the fridge.


