
Tender Braised Collard Greens Made the Easy Way
If collard greens have ever felt a little intimidating, this is the kind of recipe that makes them feel totally doable. This is one of those cozy side dishes that smells amazing while it cooks and slowly turns a big pot of greens into something tender, flavorful, and honestly hard to stop sneaking bites of. It’s simple, relaxed cooking, nothing fussy, just good ingredients doing their thing.
I love how hands-off this one feels once everything’s in the pot. A little onion and garlic to get things started, plenty of broth, and a gentle simmer that does all the heavy lifting for you. It’s the kind of recipe that fits right into a busy day because it doesn’t need babysitting, and it pairs perfectly with everything from roasted chicken to comfort food dinners.
These greens are great when you want a side that feels hearty without being heavy. They work just as well for weeknight meals as they do for Sunday dinners, holidays, or anytime you want something warm and familiar on the table. If you’ve been looking for a reliable way to make collard greens that actually turn out tender and full of flavor, this one’s a keeper.

Equipment
-
Large pot or Dutch oven
-
Sharp knife
-
Cutting board
-
Wooden spoon or heat-safe spatula
-
Measuring cups
-
Measuring spoons
-
Lid for the pot
-
Tongs or a large spoon for stirring and serving
Ingredients
-
2 tablespoons olive oil or bacon grease: This adds the base layer of flavor and helps soften the onion so everything starts out rich and savory.
-
1 small onion, diced: The onion cooks down and gives the greens a gentle sweetness that balances all that earthy flavor.
-
3 cloves garlic, minced: A little garlic goes a long way here, adding warmth and depth as it cooks.
-
1 pound collard greens, stems removed and leaves chopped: Once they simmer, these tough greens turn tender and soak up all the flavor in the pot.
-
3 cups chicken or vegetable broth: The broth does the heavy lifting, slowly braising the greens until they’re soft and flavorful.
-
1 tablespoon apple cider vinegar: This brightens everything up and cuts through the richness in the best way.
-
½ teaspoon red pepper flakes (optional): Add these if you like a little gentle heat, or skip them if you prefer things mild.
-
Salt and black pepper, to taste: A final seasoning brings all the flavors together right before serving.

Recipe Instructions
You can find a printable recipe card at the bottom of this post.
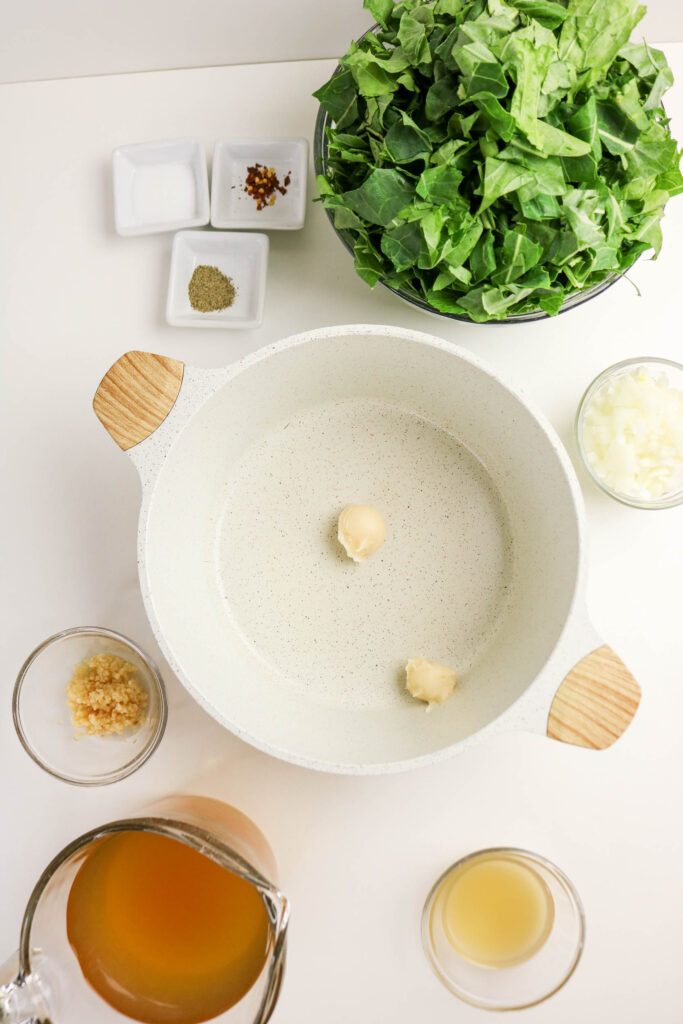
1. Heat the oil in a large pot or Dutch oven over medium heat. Add the onion and cook for about 5 minutes until it softens.
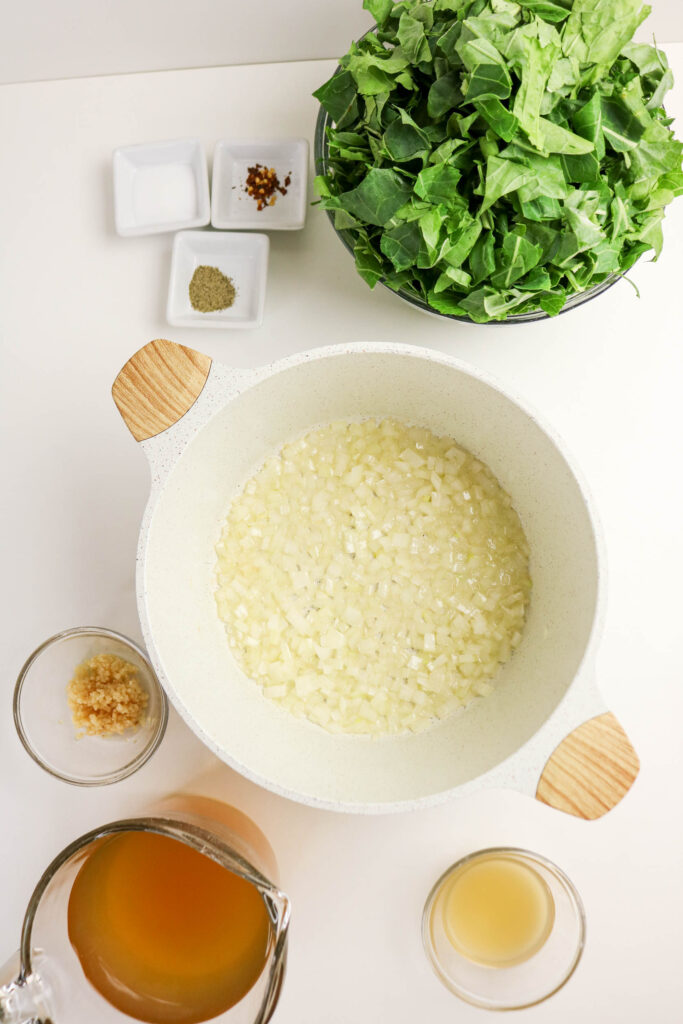
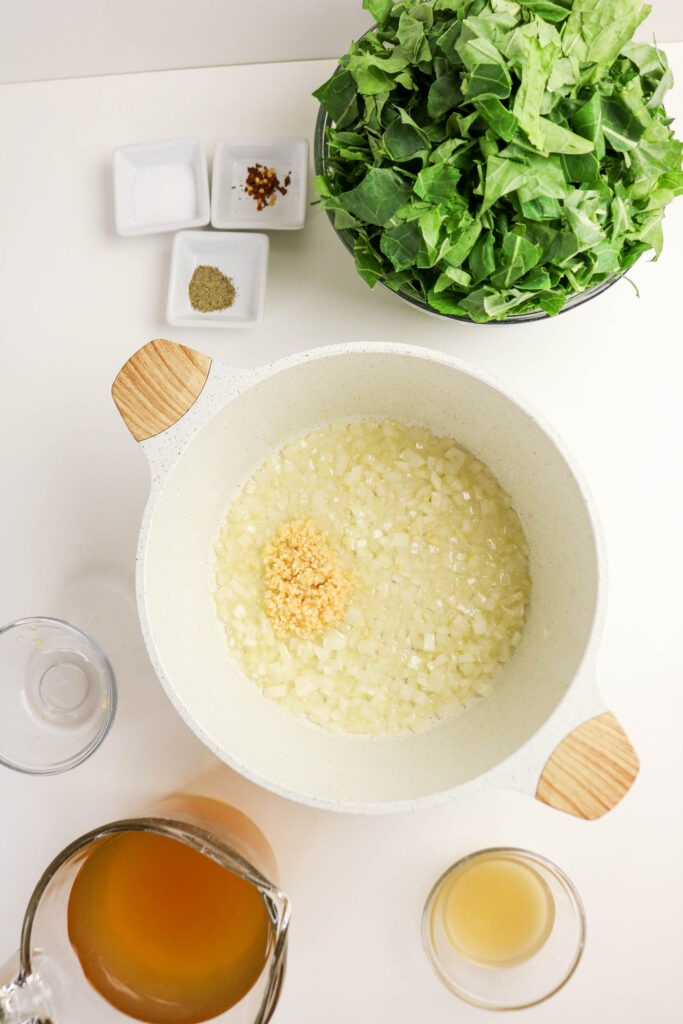
2. Stir in the garlic and cook for 1 minute until it becomes fragrant.
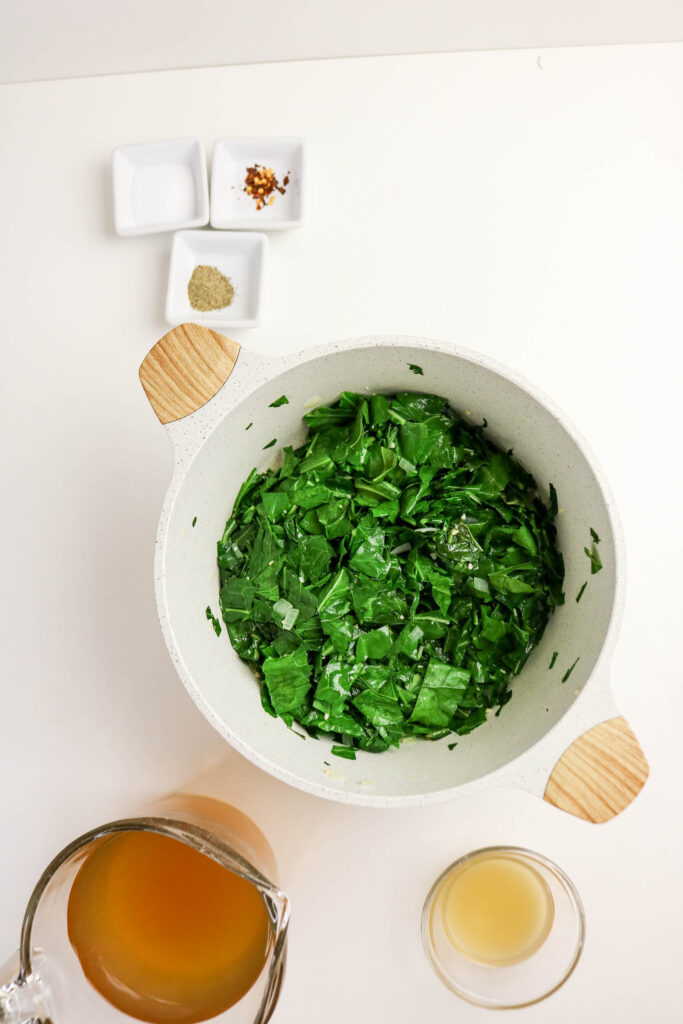
3. Add the collard greens in batches, stirring each time until they wilt.

4. Pour in the broth, vinegar, and red pepper flakes if you’re using them, then bring everything to a gentle simmer.
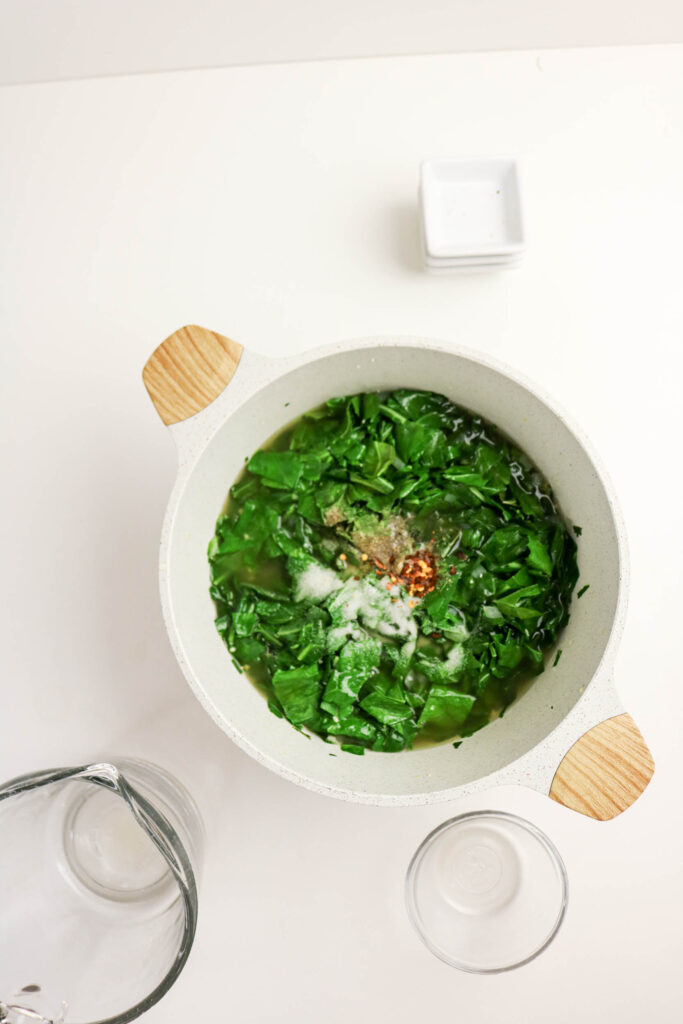
5. Lower the heat, cover the pot, and simmer for 35–40 minutes, stirring occasionally, until the greens are tender.

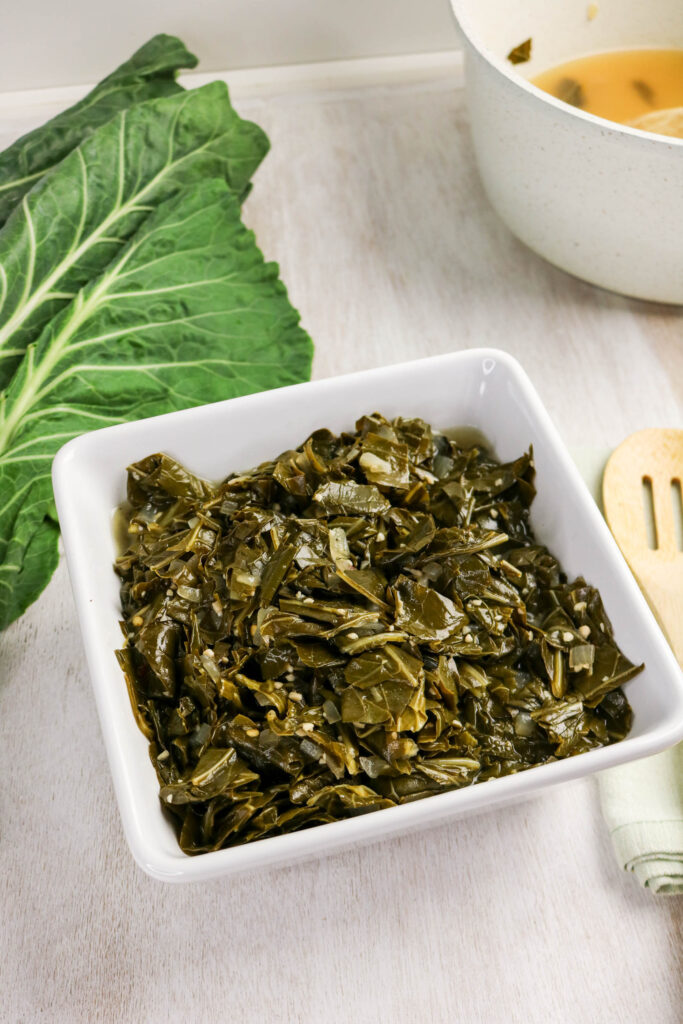
6. Season with salt and black pepper to taste before serving.
Tips & Tricks for Perfect Braised Collard Greens
-
Take a minute to prep the greens properly. Removing the thick stems makes a big difference in how tender everything turns out, and it helps the leaves cook evenly.
-
Don’t rush the simmer. Low and slow is what transforms collards from tough to tender, so give them the time they need and let the pot do its thing.
-
Taste and adjust near the end. The broth reduces as it cooks, so it’s best to season lightly at first and fine-tune with salt, pepper, or vinegar right before serving.
-
Use broth you actually like the taste of. Since the greens soak it all up, a flavorful chicken or vegetable broth really matters here.
-
Add the vinegar at the right time. A splash near the beginning adds balance, but a tiny extra drizzle at the end can brighten everything up if needed.
-
Stir occasionally, not constantly. Just enough to keep things from sticking while still letting the greens settle into the simmer.

Serving
-
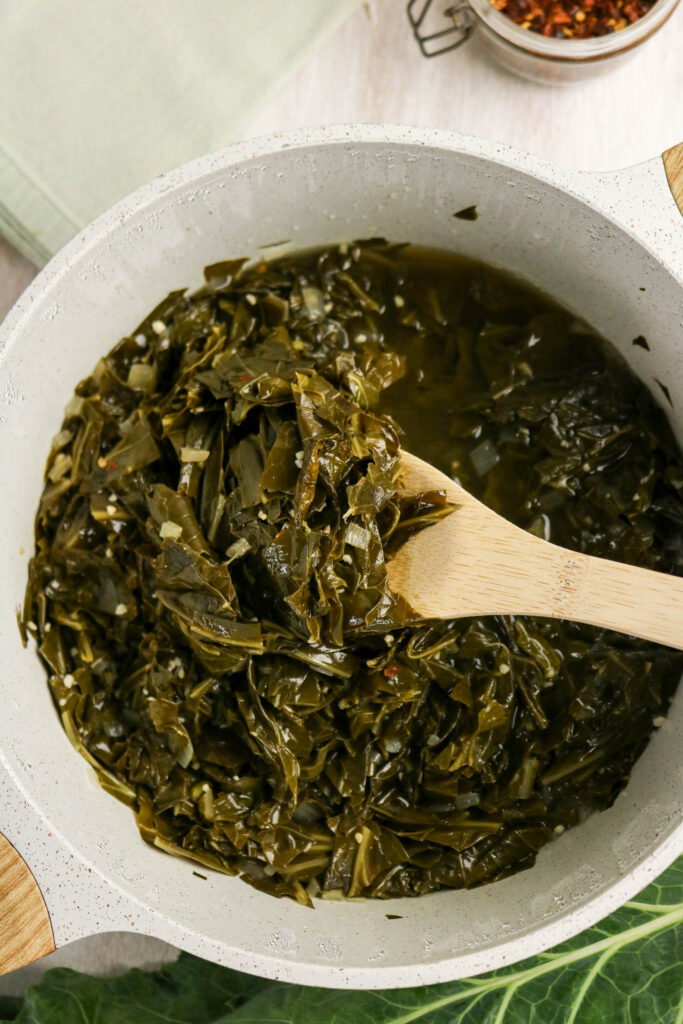
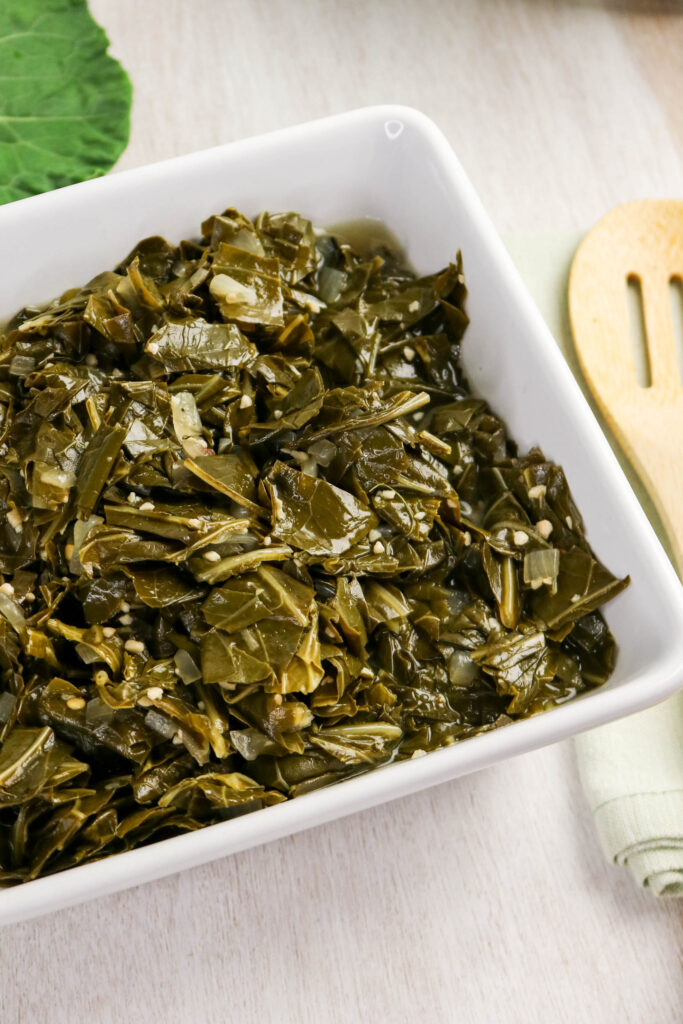
Serve warm right from the pot. These greens are best while they’re hot and tender, with plenty of that flavorful broth spooned over the top.
-
Pair them with comfort food favorites. They’re perfect alongside roasted or fried chicken, pork chops, ham, or even a simple bowl of beans and cornbread.
-
Don’t forget the broth. That liquid is packed with flavor, so make sure each serving gets a little drizzle instead of draining it all away.
-
Add a finishing touch if you like. A pinch of black pepper, a splash of vinegar, or even a few red pepper flakes can wake everything up right before serving.
-
They work for casual or special meals. These fit just as easily on a weeknight dinner plate as they do on a holiday or Sunday table.
Storing
-
Let them cool before storing. Once the greens have cooled down, transfer them to an airtight container along with some of the broth.
-
They keep well in the fridge. Stored properly, they’ll last for up to 3 to 4 days and still taste great.
-
The flavor gets even better. Like a lot of braised dishes, these greens are often even more flavorful the next day.
-
Reheat gently. Warm them on the stovetop or in the microwave with a splash of broth to keep them from drying out.
-
Freezing works too. If you want to freeze leftovers, store them with some liquid and thaw in the fridge before reheating.
FAQs
Can I make these ahead of time?
Yes, and they actually get even better after sitting for a bit. You can make them a day ahead, store them in the fridge, and reheat gently when you’re ready to serve.
Do I have to use chicken broth?
Not at all. Vegetable broth works just as well and keeps the recipe vegetarian, so use whatever you prefer or already have on hand.
How do I know when the greens are done?
They’re ready when the leaves are very tender and easy to chew, not tough or stringy. If they still feel a little firm, let them simmer a bit longer.
Can I make these less spicy?
Absolutely. The red pepper flakes are completely optional, so you can leave them out entirely if you want a mild dish.
What if my greens taste bitter?
A small splash of apple cider vinegar or a pinch of salt at the end usually balances things right out.
Can I add meat to this recipe?
Yes. Smoked ham, bacon, or even a ham hock can be added for extra flavor if you want to make it more traditional.
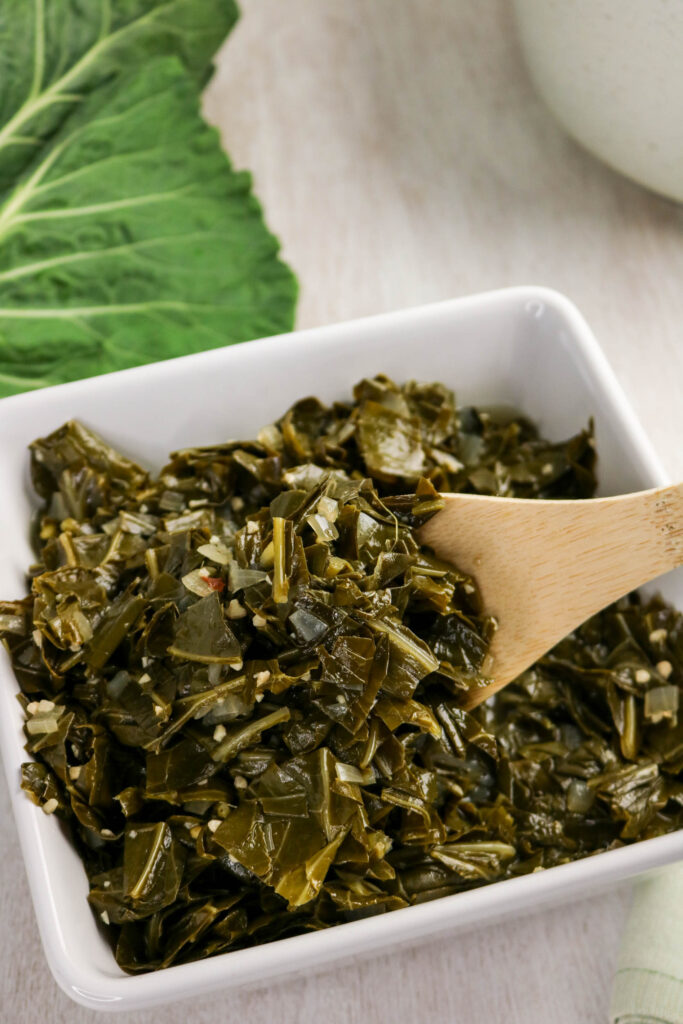
Braised Collard Greens
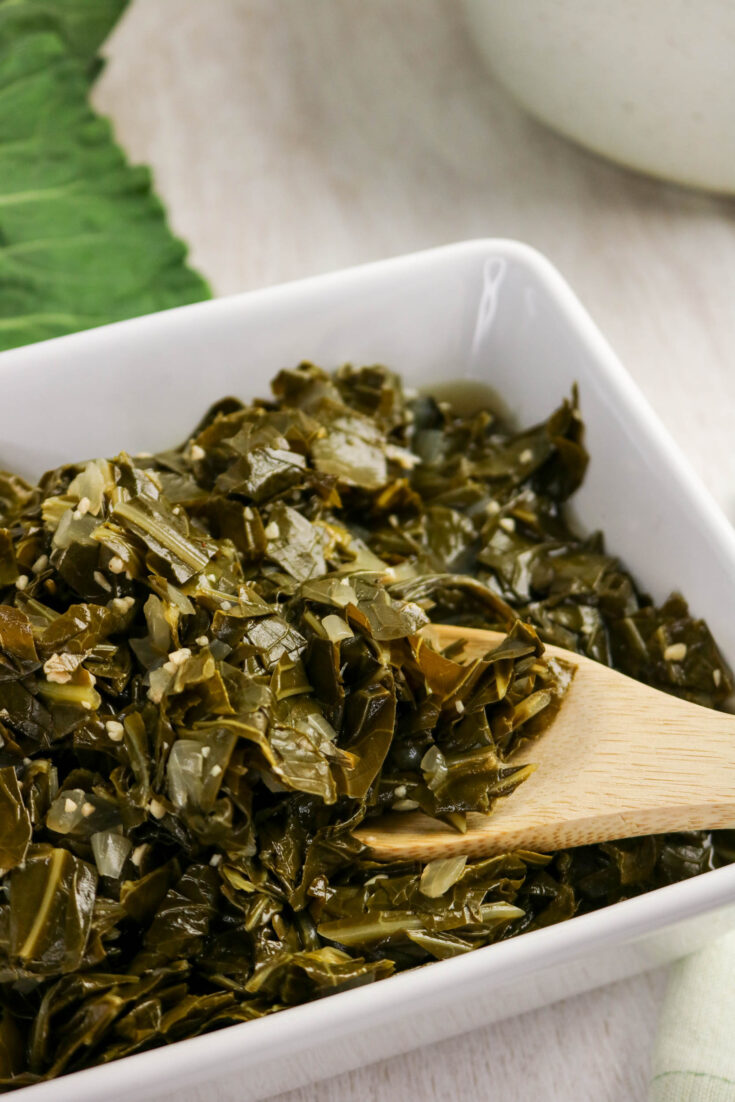
Tender collard greens slowly braised with onion, garlic, and savory broth until soft, flavorful, and comforting. This easy side dish comes together in one pot and pairs perfectly with cozy weeknight dinners or special meals.
Ingredients
- 2 tablespoons olive oil or bacon grease
- 1 small onion, diced
- 3 cloves garlic, minced
- 1 pound collard greens, stems removed and leaves chopped
- 3 cups chicken or vegetable broth
- 1 tablespoon apple cider vinegar
- ½ teaspoon red pepper flakes (optional)
- Salt and black pepper, to taste
Instructions
- Heat the oil in a large pot or Dutch oven over medium heat. Add the onion and cook for about 5 minutes until it softens.
- Stir in the garlic and cook for 1 minute until it becomes fragrant.
- Add the collard greens in batches, stirring each time until they wilt.
- Pour in the broth, vinegar, and red pepper flakes if you’re using them, then bring everything to a gentle simmer.
- Lower the heat, cover the pot, and simmer for 35–40 minutes, stirring occasionally, until the greens are tender.
- Season with salt and black pepper to taste before serving.
Notes
- Removing the thick stems from the collard greens helps them cook more evenly and turn tender.
- Adjust the simmer time as needed, depending on how tender you like your greens.
- Season lightly at the start, then taste and adjust salt, pepper, or vinegar near the end.
- Red pepper flakes are optional and can be left out for a milder flavor.
- For extra richness, bacon grease can be used in place of olive oil.
- Store leftovers with some of the cooking liquid to keep the greens moist when reheating.


